|
|
Post by doulsy on Jan 26, 2015 22:35:10 GMT
i know its the least of my worries just now but does anyone know where i would get a 1978 style reg plate? think its the black plastic numbers on the yellow plate type. i can inly find the pressed plates.
|
|
|
|
Post by doulsy on Jan 26, 2015 22:30:36 GMT
i think you would need the year to track it down, if its old chances are its been repainted.
|
|
|
|
Post by doulsy on Jan 15, 2015 15:12:17 GMT
I need to change, colour, engine and address on the logbook lol
|
|
|
|
Post by doulsy on Jan 14, 2015 21:23:10 GMT
should it say what model your scoot is on the documents? i finally received my v5 today, been waiting since may, any way it just say's vespa douglas 197cc and the model part is blank, i thought it would have said p200e.
|
|
|
|
Post by doulsy on Jan 12, 2015 20:26:10 GMT
i have a steering lock to fit, never knew you could put the wrong way round, i will pay attentsion now lol
|
|
|
|
Post by doulsy on Jan 7, 2015 21:36:03 GMT
Looks like there is a horn in the cover already but yes it's horn cast mounted 4 screw holes in the back for mounting it yes it came with a 6v ac horn,but should be 12v ac, would the 6v horn stop the lights from working? i put a multi meter straight on the stator blue wire and disconnected the blue wire from the loom, then i started getting mental readings like 40 odd volts, then i reconnected the blue wire's and the multi meter was showing 14,8 v with a little rev, also tried the test lamp again and got an electric shock lol, i dont have my petrol tank installed and i think my carb needs some work so its hard trying do do these tests on your own when the scooter is only running for a minute or two, any way still no lights. |
|
|
|
Post by doulsy on Jan 7, 2015 10:59:56 GMT
a 6volt horn works on 12volts aswell ,just a different tone , an was scoot just ticking over when the bulb was weak , it should of been fairly bright an blown if scoot was revved hard , was the test lamp 1 you made or 1 of those screwdriver type testers as they can be weak as its a high wattage bulb to prevent it blowing frequently ,H screw driver type and i was giving it some revs, i will try to borrow a multimeter. |
|
|
|
Post by doulsy on Jan 6, 2015 23:43:41 GMT
i think it goes on the horn cover, not sure if you can tell from the picture, the scooter had a 6v ac horn on it when i bought the bike , i know it should be a 12v ac, i connected the old one to it tonight because i was curious, still no lights but the horn worked, i also put a test lamp on the blue wire coming from the fly wheel, it did light up but was very weak. 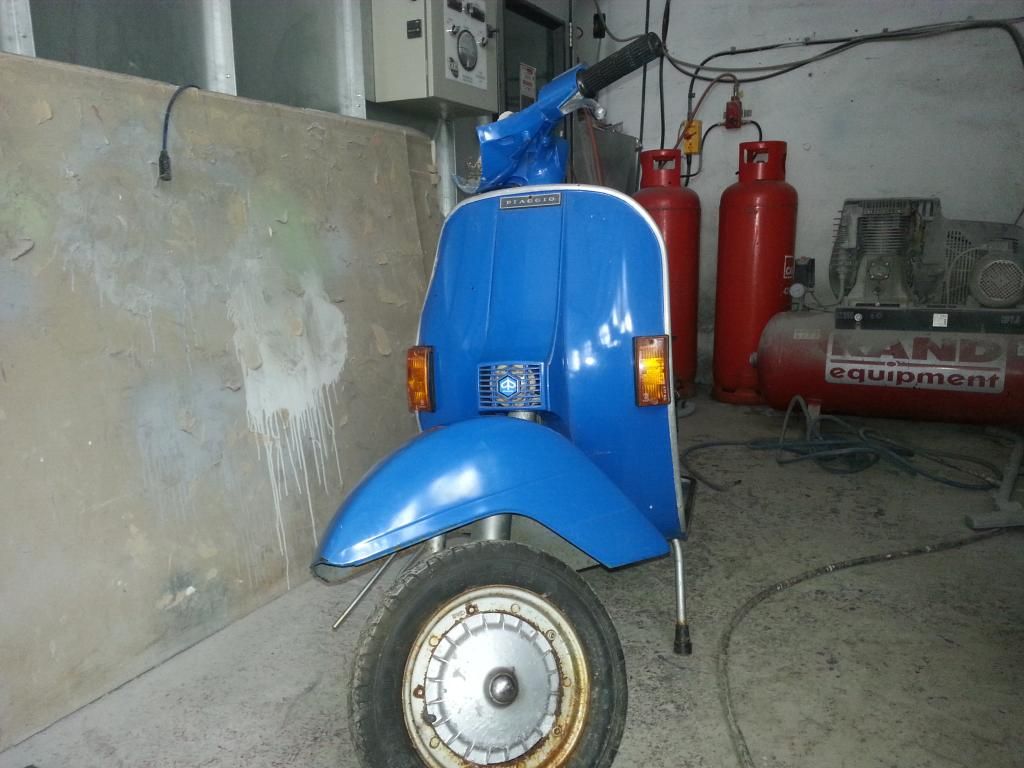 |
|
|
|
Post by doulsy on Jan 4, 2015 23:35:27 GMT
If it's a non battery then you've just answered your own question. Join the horn up, and then try it. A quick test is to press the button with the lights switched on, they should light as long as the button is held. i dont have a horn, you think this is the problem? i read the horn wire goes to switch and links the others up, this the case? yes its a non battery and just realized i have no bulbs in the indicators. |
|
|
|
Post by doulsy on Jan 4, 2015 19:59:29 GMT
btw, i dont have a horn connected, not sure if that makes a difference
|
|
|
|
Post by doulsy on Jan 4, 2015 16:40:21 GMT
nice one, i have an old p200e engine that was full of water, im thinking of restoring it my self but i have never done anything like that before.
|
|
|
|
Post by doulsy on Jan 4, 2015 16:18:36 GMT
Right guys, i stuck the engine in and poured some petrol down the tube and it actually started and switched of from the ignition  only problem is none of my lights work, no headlights, tail lights or brake lights, i only have the front indicators installed and they are not working either  thoughts? |
|
|
|
Post by doulsy on Jan 4, 2015 16:10:32 GMT
ok guys cheers, its actually a 4mm lock i need, i bought the wrong one.
|
|
|
|
Post by doulsy on Jan 3, 2015 15:53:38 GMT
Don't drill it, it's easy enough to pull out. You're going to have to trash the toolbox lid though. how can you get it out without drilling? |
|
|
|
Post by doulsy on Jan 2, 2015 22:14:44 GMT
easy to drill out the steering lock, i have a spare 6mm steering lock barrel with keys you can have for free, its from a p series.
|
|
|
|
Post by doulsy on Dec 28, 2014 22:55:14 GMT
There are 2 plates for each side of the tunnel, a smaller plate goes on top of floor, and a slightly bigger plate goes underneath floor before stand is fitted, so it is like double strenthening, and helps hide signs of damage to top of floor, the plates are for the bolt holes . Ian cheers, so i would not need to remove the pesky floor runner kit? |
|
|
|
Post by doulsy on Dec 26, 2014 23:10:27 GMT
If the floor has a small dent in it at the bolt mounting points then fit the stand strengthening plates you buy from Gran Sport, or maybe other suppliers now do them, they are stainless steel and give the floor a bit more strength and hide the dent, my p2 had a dent on floor probably due to previous owner sitting on it while on stand or riding it off stand, as well as butchering stand to fit sports exhaust. the plates look good and hide problems, loads of vespa owners use them, if you want a look give me a call, or i can txt you a pic. I know you need them asap but worth doing. do the plates go on the top end or under the bike before you bolt the stand on? fair enough they give more strength but would the bike be more stable on the stand, keep running into stupid problems with my rebuild. |
|
|
|
Post by doulsy on Dec 26, 2014 22:20:01 GMT
im gonna remove it, all ready with all the messing about with it, seems to have dented my new floor pan, the chrome leg should be shorter or have more of a bend on it, gonna have to clean up the original rusty stand for now as i need it on its feet.
|
|
|
|
Post by doulsy on Dec 26, 2014 14:39:15 GMT
fitted one I bought few days ago rather the put the rusty old original centre stand back on, anyway you could knock the scooter over with a feather, does anyone else have one? have I fitted it wrong? seems it can only go on the one way though, had to sit it back on a box for safety.
|
|
|
|
Post by doulsy on Dec 25, 2014 14:17:15 GMT
Turn the ignition to the off position (anti clockwise) and it's the two tabs connected by the copper turning bit. The black fastens to the handlebars to earth the ignition out. Got the small loom for the speedo, earth goes to speedo and ignition and and bulb holder and a few yellows that go to hi beam warning light and speedo light and also connects to bulb holder, this sound about right? |
|
|
|
Post by doulsy on Dec 24, 2014 13:18:46 GMT
Only two wires to the ignition switch, green from the cdi and black to earth. They go to the larger tabs. The smaller ones are used for something on some models - US Spec maybe? - but not on UK models. I will get some pictures of my progress uploaded later, think i have sussed the headset wiring, not 100% though. |
|
|
|
Post by doulsy on Dec 19, 2014 21:50:24 GMT
havin racked me bonce a bit it seems fine ,tho i'm sure theres 4 wires to the ignition switch ,the 2 connecters on the speedo have got to be for the bulb i guess , ya can get a mot without it if lucky ,i think i'd concentrate on gettin it runnin an lights to get a mot an worry bout speedo later , H Henri, i know a retired mot tester who only works on a sunday morning, fixed his laptop a few weeks ago |
|
|
|
Post by doulsy on Dec 19, 2014 13:05:03 GMT
Yes i have ordered the speedo to horn cover loom, ye recon the rest is ok? I will post more better quality pictures or email them if you prefer, i can see any bulb holder on the speedo but there is two connectors for wires
|
|
|
|
Post by doulsy on Dec 19, 2014 1:53:43 GMT
Seem to have ran out of wires, do i need to make some up or is there another part you buy and connect to others in the headset? dont have any for the speedo or main beam warning and also one missing from ignition.  sorry about the small image photobucket wouldnt load on laptop, green wire is to the ignition and red and grey on the flasher warning light. |
|
|
|
Post by doulsy on Dec 19, 2014 1:48:25 GMT
|
|
|
|
Post by doulsy on Dec 19, 2014 1:36:53 GMT
these are the wires coming from the switch 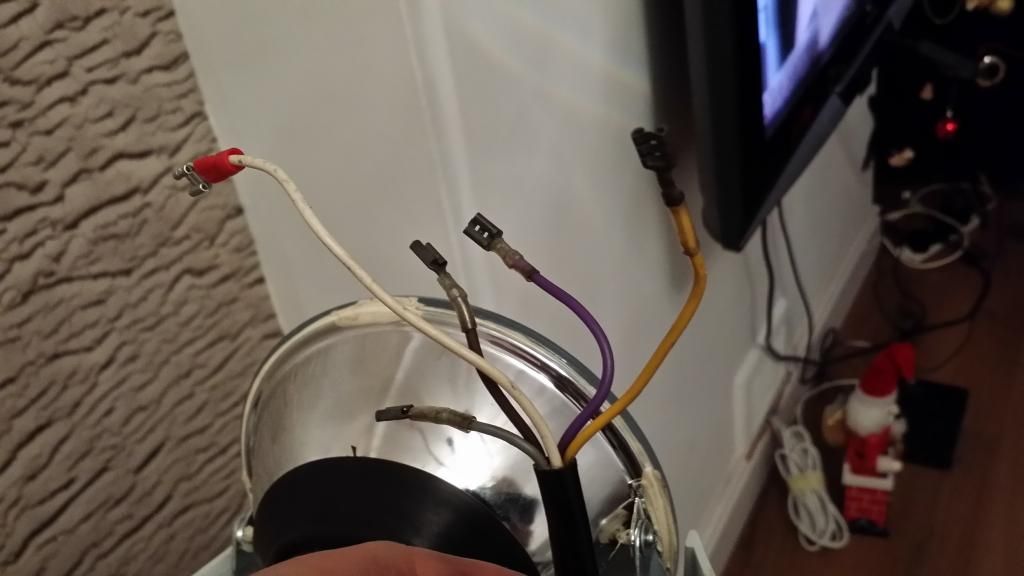 these are the wires from the loom 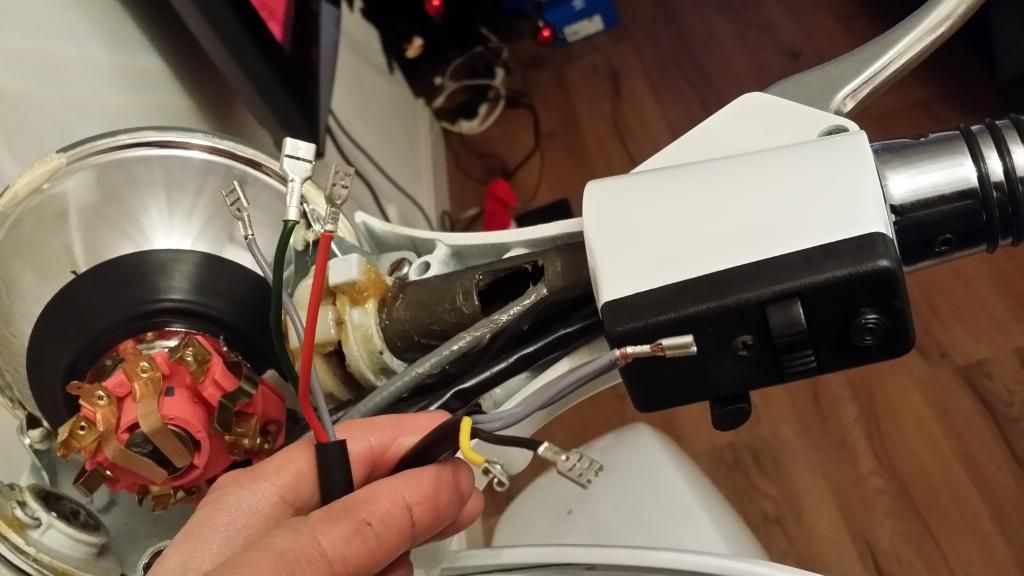 does this look ok? 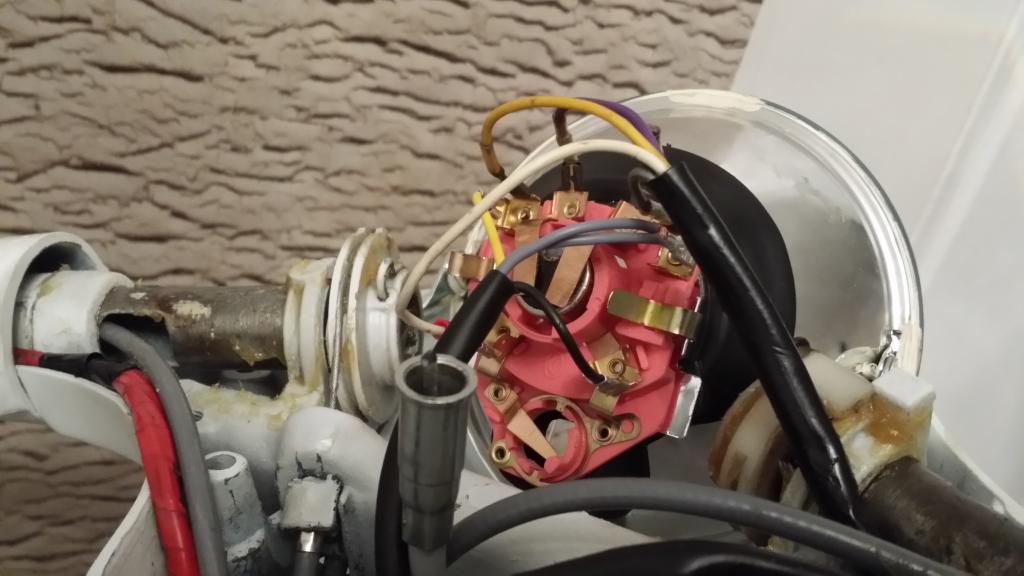 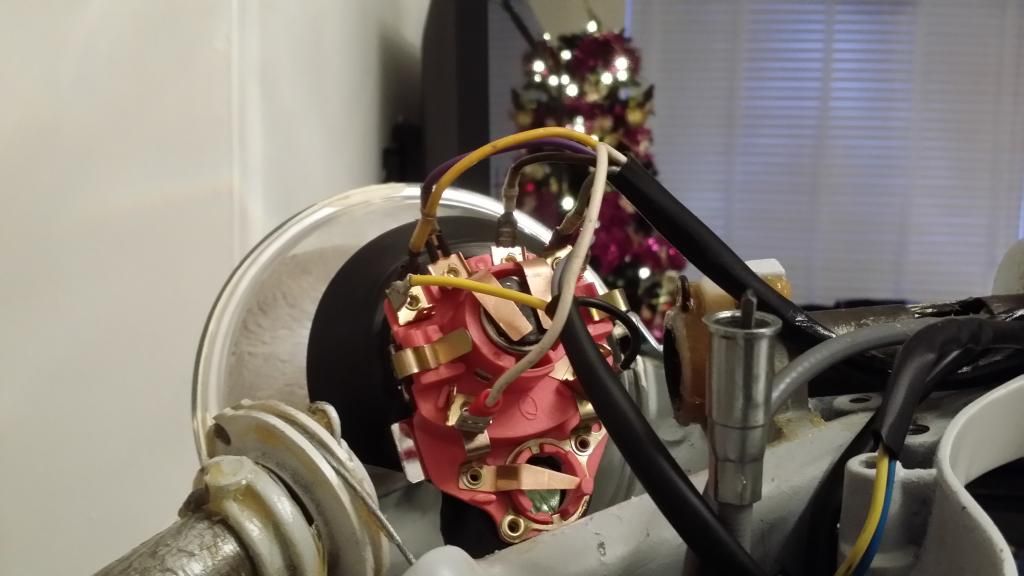 |
|
|
|
Post by doulsy on Dec 17, 2014 13:26:52 GMT
Thanks henri, could i put a battery on to the blue and black wires to check all this?
Forgot to mention the engine is not in yet and its a non battery
|
|
|
|
Post by doulsy on Dec 16, 2014 14:57:43 GMT
pictures an a description of whats puzzling ya needed ,i'm assuming its a p series with ign switch in headset ,an which lighting switch ,the older toggle 1 or more px style rocker 1 , didnt beedys send ya a wiring diagram with loom ,they usually do.if not there mostly download-able from there website , thats where i nick em from when building my own looms , get the diagram an then go through it 1 wire /circuit at a time .its a bit daunting when faced with a handful of wires n connecters ,but broke down into 1 at a time you'll be surprised how fast ya stand back n its done,H Yes a p series with the old style bulb holder and ignition on the headset, i have a diagram that shows where the wires go to but i dont know the order/postion they attach to headlamp ignition ect, pictures would be great. |
|
|
|
Post by doulsy on Dec 15, 2014 22:41:46 GMT
done the front steering silver and the hubs silver just so i could start to build the p200 back up, was thinking i could change the hub colour anytime but i think the silver looks good with the black and red shocker, thanks for all the replies.
|
|
|
|
Post by doulsy on Dec 15, 2014 17:08:07 GMT
Need some more help with my wiring for the headlamp and ignition, when i got my scooter the headset was missing so i never got any photo's, any more help would be great guys.
|
|


 only problem is none of my lights work, no headlights, tail lights or brake lights, i only have the front indicators installed and they are not working either
  thoughts?