ronnie66
2nd Class Ticket
 /Users/ronaldmartinlynas/Desktop/photo 3.JPG.zip
Posts: 32 
|
Post by ronnie66 on Jul 18, 2015 8:15:52 GMT
Any simple advice on the correct steps to set timing? I have read up in workshop manual, watched SIP tips (In German!) even the useful vid's from Vespa Motorsport! One thing is confusing me slightly When finding TDC. I notice that on some they turn to TDC, then turn back around take another measurement, then half it and then.....do a little sum?  I have a 150cc LML engine (approx 2005) no points. The steps I took; 1. Rotate flywheel until piston reaches TDC, marked casing and flywheel. Set timing disc to '0' 2. I then rotated (backwards to 19 BTDC) and marked this point on the flywheel. 3. Attached timing gun to HT lead and separate 12v battery. 4. Start up and check marks with gun. 5. Stop, remove flywheel and loosen backplate on stator. 6. Turn to advance/retard, tighten up and replace flywheel. 7. Repeat step 3-6 until timing marks align on gun. Am I doing it correctly? Thanks in advance Ronnie |
|
|
|
Post by henri on Jul 18, 2015 8:54:10 GMT
yep sounds like youve got it ,
the bit above confusing you might be there using a piston stop to find tdc , a old plug with bolt thru it is mine ,it stops the piston at about 20deg btdc an 20deg atdc ,do the sum n half the distance an theres were i mark tdc ,ok, H
|
|
ronnie66
2nd Class Ticket
/Users/ronaldmartinlynas/Desktop/photo 3.JPG.zip
Posts: 32
|
Post by ronnie66 on Jul 18, 2015 9:27:41 GMT
Ah, Now that makes sense!
Cheers Henri.
|
|
|
|
Post by henri on Jul 18, 2015 13:57:14 GMT
what me ,making sense n being understandable , best open a beer n get back to usual idiocy's , god if the villagers find out bang goes a promising career as village idiot , an i'd just mastered dribbling from both sides of mouth at once ,not easy i can tell ya , H
|
|
ronnie66
2nd Class Ticket
/Users/ronaldmartinlynas/Desktop/photo 3.JPG.zip
Posts: 32
|
Post by ronnie66 on Jul 18, 2015 20:15:38 GMT
H, I'll send you that beer to dribble over lol! Took your advice and set my timing today. Starting first kick and sounds very smooth. Abarth(?) SS twin pipe sounds good too now it's clean and not spitting petrol everywhere! It's the first time I've actually had it running correctly since I got it in February!! Off on me jollies to Italy next week, see if I can manage to pick up some parts to spoil it with for being good? Shame I couldn't take it with me! Thanks for all yer help. Ronnie |
|
|
|
Post by sime66 on Jul 19, 2015 19:22:12 GMT
Well done, Ronnie; you've got a good few jobs under your belt there - glad you're happy with the results. Have a good holiday.  |
|
|
|
Post by kidda on Jul 19, 2015 20:02:53 GMT
Just out of curiosity whats the sum you have to do?
|
|
|
|
Post by sime66 on Jul 19, 2015 20:15:14 GMT
If you use a piston stop to find TDC, you’ll get two readings – where it stops before and after TDC, so the calculation is just to find the mid-point of those two, which will be TDC. Ronnie didn’t need to do the calc because he just marked TDC directly. After that you then have to mark your timing before TDC relative to that point. EG, in Ronnie’s case, 19º BTDC.
|
|
me
High Number

Posts: 105
|
Post by me on Jul 19, 2015 21:00:10 GMT
Yea that is a way - but i do it slightly different and its slightly more accurate, due to the fact of the degree disc unles its a perfect fit and you can draw the lines with out going off parallel.
If you do maths it turns out to be accurate to within 0.1mm (depending on how thick you draw your lines)
Find TDC with positive stops - turn flywheel - stop and mark - turn other way - stop and mark ... do both marks on flywheel and casings - you end up with two lines on flywheel and caseings.
Remove flywheel - find a bit of masking tape and lay it along side the marks and transfer the marks to the tape - remove tape and lay flat - measure from one line to other and work out the centre - replace tape onto flywheel marks - now transfer new mark (TDC) to the flywheel = now you can mark TDC onto the case - now you will have 3 marks - wipe off the two outer marks leaving the centre (TDC) mark only.
Now this is where all the maths comes in
measure the diameter of the flywheel
say its 165mm diameter X this by 3.142 (Pi) this will give you the circumferance of the flywheel = 518.43 - divide this by 360 = 1.44 - this figure is the amount of mm per degrees - 1.44mm = 1 degree -- now times this (1.44mm) by how many degrees you want - say 19 degrees - so 19 x 1.44 = 27.36.
If you have kept the piece of tape now measure the 27.36mm from the centre line (TDC) to the right of the line on the flywheel so the new mark is before the TDC mark - obviously this is your BTDC mark . when you now place the flywheel onto the engine and stobe it you will see the new mark will line up with the TDC mark on the case - or if it doesn't you move the stator either left or right - moving stator clockwise will retard the timming - moving the flywheel anti-clockwise will advance the timming.
If you use nice sharp lines you can get the timming within 0.1mm........ must point out you will never be as acurate as this as there is always play in the taper woodruff key and the slot on the flywheel, which can make the timming out by 1/2 to 1 degree
|
|
|
|
Post by sime66 on Jul 19, 2015 21:17:41 GMT
must point out you will never be as acurate as this as there is always play in the taper woodruff key and the slot on the flywheel, which can make the timming out by 1/2 to 1 degree ....so, might as well stick to the simple explanation then, eh? |
|
ronnie66
2nd Class Ticket
/Users/ronaldmartinlynas/Desktop/photo 3.JPG.zip
Posts: 32
|
Post by ronnie66 on Jul 19, 2015 22:03:07 GMT
Well done, Ronnie; you've got a good few jobs under your belt there - glad you're happy with the results. Have a good holiday. thanks sime Its been a good few weeks getting it sorted but thanks to you and the rest of the guys on here with your excellent advice and support i got there. indeed a good few jobs done along the way, only negative being i don't know what the main culprit was! i would guess the dry failing joint in the stator wiring which seems a common problem and the piston rings! I'm off to Italy so will miss the Vespa for a couple of weeks, but at least i'll hopefully check some out while i'm over there with a Peroni in my hand! Cheers Ronnie p.s! I still can't get photo's on here, only one i can manage is for my profile !!! ![]() |
|
|
|
Post by sime66 on Jul 20, 2015 6:05:33 GMT
p.s! I still can't get photo's on here, only one i can manage is for my profile !!! Yes, I saw you were still struggling; it's difficult to see why, but I'll have another go at explaining. I previously directed you to my inserting photos thread – hope you've read it? I can see from the string of text under your avatar image, that you're linking to a file location on your hard drive; this is only correct for your avatar image. Read the following in conjunction with my previous thread: - The photos you are trying to post should already be in photobucket (or similar). - Clicking the photo (in photobucket) will open it on a different screen. - On the right hand side there is a pane of links, click the bottom of the four links – it goes yellow and displays 'copied' – you've then copied it to your clipboard. - Then, in our forum, PASTE this link directly into the post – not using any of the proboards image insertion buttons; just paste the long string of text directly from your clipboard using PASTE (ctrl+v, or mouse right-click for pop-up menu); you are linking to the file location in your photobucket library, not your hard drive. It will still look like a string of text until you preview or post it. - If that doesn't do it, then get the grandchildren to show you! Have a go, and if you mess it up, leave it displaying whatever result you get, because from that we'll be able to see where you're going wrong and tweak your method. |
|
|
|
Post by henri on Jul 20, 2015 7:34:50 GMT
coz of wonky eyes n thick lines is why i usually strobe it after setting static timing , its a double check nothings slipped on re-assembly , H
|
|
|
|
Post by kidda on Jul 20, 2015 18:59:37 GMT
Cheers for the info folks
|
|
ronnie66
2nd Class Ticket
/Users/ronaldmartinlynas/Desktop/photo 3.JPG.zip
Posts: 32
|
Post by ronnie66 on Jul 20, 2015 21:30:05 GMT
Pic
|
|
|
|
Post by sime66 on Jul 21, 2015 5:58:27 GMT
^^That ain't much to go on^^ - except you're doing it from mobile, which might be different, but anyway, as answered on other thread: Click this box to copy contents (IMG):  Paste into forum: 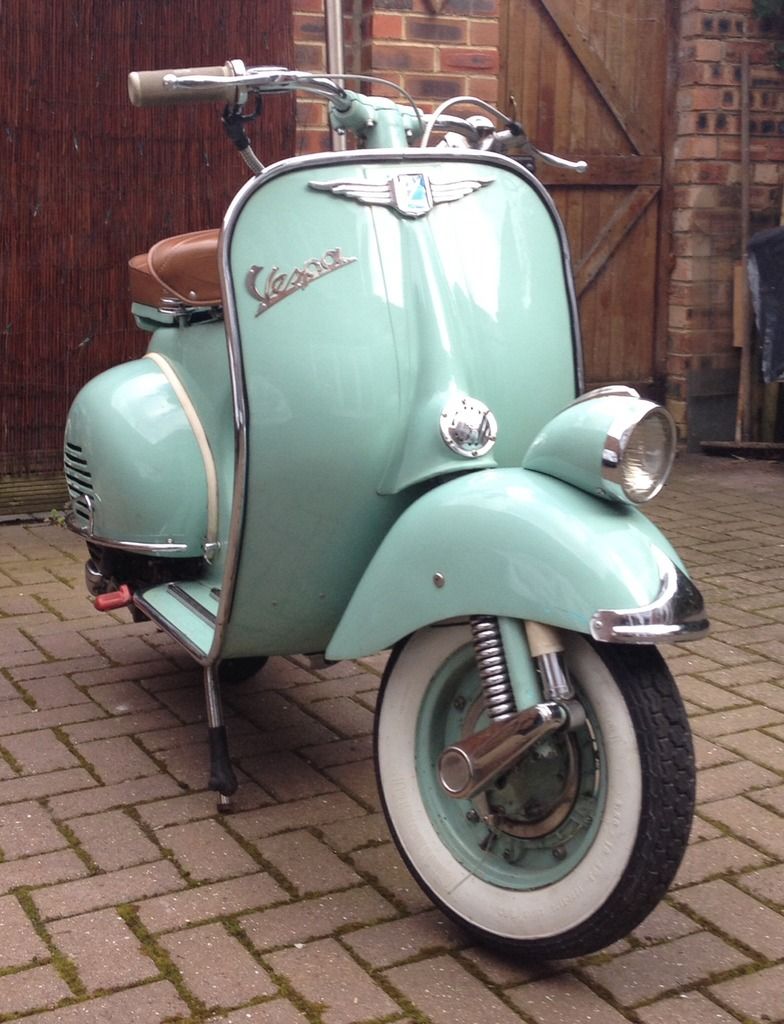 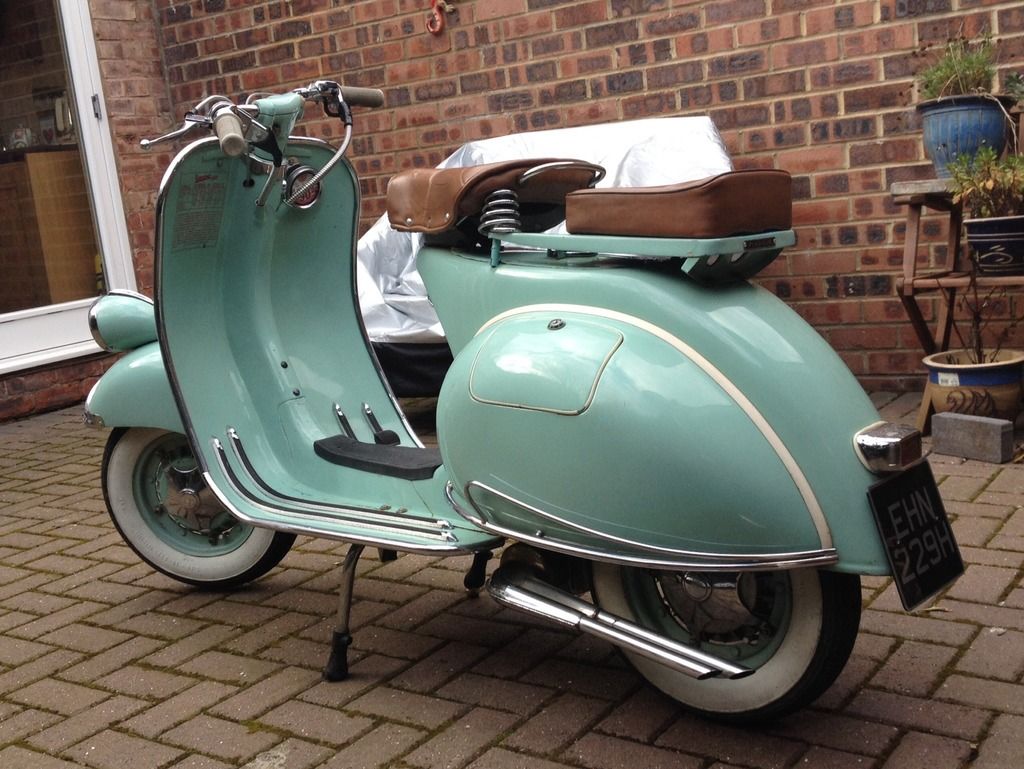 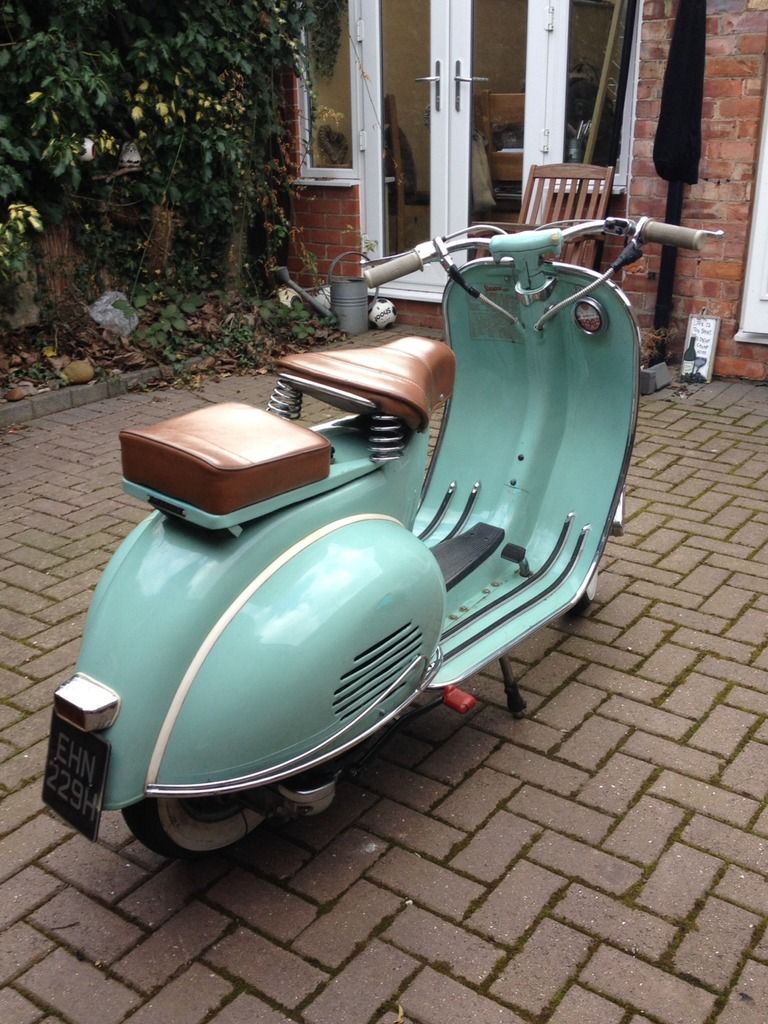 |
|


